|
<< Click to Display Table of Contents >> Titles |
  
|
|
<< Click to Display Table of Contents >> Titles |
|
Image titles for each type of document that will be scanned, or uploaded, to a patient's account will need to be created. To view a listing of current image titles, select Titles from the Business Office tab in Table Maintenance.
Select Web Client > Tables > Business Office > Titles
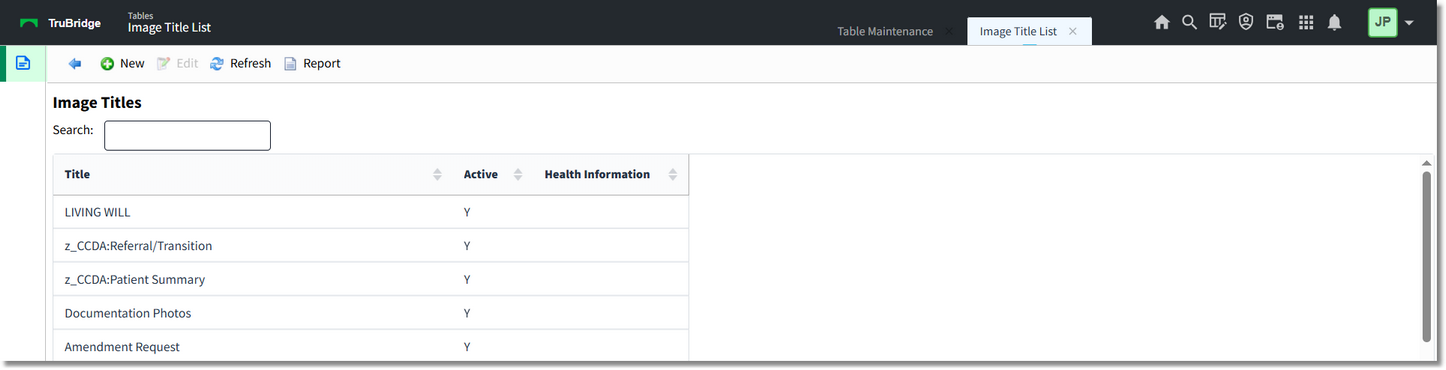
Image Titles
To create a new image title, select New from the action bar.
The Report option enables information from the Image Titles table to be exported into a CSV format. After selecting Report, the Report Writer Parameters screen will appear, allowing filters to be applied as needed. Once all are set, select Run Report to generate the file.
NOTE: This report is also available within the Report Dashboard and it titled "Image Titles Master Table Report".
Select Web Client > Tables > Business Office > Titles > New

Image Title Edit
•Title: Enter a 30-character description. Once this description has been entered, any changes to the title will not be allowed. In other words, any documents scanned under an original title will remain under that title.
•Phase Permitted: Enter the department Phase ID that should have access to the image.
•Department Permitted: If additional departments, that do not share the above-entered Phase ID, should have access to the image, enter those departments in the spaces provided in “Depts Permitted”. Up to 20 departments may be entered. If “Phase Permitted” is blank, the system will use the department settings to determine image-viewing capabilities. If both “Phase Permitted” and “Depts Permitted” are blank, any facility employee will have access to the scanned images.
To determine a department’s Phase ID, review Departmental Security settings within Special Functions. From the system menu screen, select Special Functions. Access System Management. Select System Security and Department Security settings. When a department number is entered, the Departmental Phase ID will display. Some departments do not require a “Phase ID” for daily operations.
•Physician Link IDs: Selecting this option allows access to scanned images via Medical Practice Access.
•ChartLink Physicians: This option allows up to 20 physicians to be entered. Enter the physician number to allow that provider access to that specific Image Title when using the ChartLink Virtual Chart feature to scan images directly into ChartLink. Enter an “*” in the first field to allow all physicians.
NOTE: ChartLink is no longer in use.
•Currently Used?: For active image titles, this field should be selected. For those titles that have been discontinued, misspelled or changed, leave this field blank so that no further images may be scanned for this title.
•Copy Forward: If this field is selected, and a patient who has been seen at the facility before, is registered then this Image Title, along with the scan from the original account, will copy to the new registration. If this option is blank, no scans from the original account will copy over to the new registration.
•Image Deletion Allowed: Select this field to allow the stored image to be deleted. If blank, the stored image may not be deleted.
•Enter Document Date: If this field is selected, during the scanning process the system will prompt for a document date. The default will be the current date. The date entered will display next to the Image Title on the patient’s account.
•Flag Images On-File: If this field is selected for an Image Title, and the title is associated with a patient’s account, the account will be flagged with “Scanned Images On-File”.
•Alternate Title Prompt: If this field is selected, during the scanning process the system will prompt for an alternate title. The alternate title will display on the patient’s account with an “*” to denote it is not the original title of the image.
•Health Information: If this field is selected, the image title will be identified in Electronic Management as a clinically relevant document for the visit.
•Allow E-Sign: Select this option to allow a scanned image to be E-Signed.
•Chartlink Tab: This determines which of the 16 ChartLink Tabs the scanned Image Title will display.
•Chartlink Icon: This allows an icon to display on the Whiteboard in ChartLink to notify the physician of a new scanned image.
NOTE: ChartLink is no longer in use.
•EMR Document Code: Enter the code from the EMR Document table in the Medical Record Control table.
•PhysDoc Title: Select the Physician Documentation Title associated with this Image Title. Image Titles should be set up for all Physician Documentation Titles. This will allow the images that are scanned under these titles to be viewable by the Physician in the Physician Documentation Application.
NOTE: PhysDoc is no longer in use.
•Clinical History: This allows the scanned image to pull to Clinical History. Selecting a filter will determine in which filter the image displays within Clinical History. If more than one filter is selected, the image will only display once within Clinical History, but will display with each filter as it is selected within Clinical History. If the image is set to copy forward, it will only display one time within Clinical History. Deleted images will not display within Clinical History.
•Scheduling: When selected, this image title will be available in the drop-down menu when adding images to an appointment within the Scheduling application.
•Advanced Directive: Select this field for any image title that is used for Advance Directives. When selected, any image scanned using this title will be available from the paperclip icon next to the Advance Directive field in the ID Panel of the patient's chart.
Page Properties
For consistent use of space for scanned images, and to better manage the disk space used, page properties will allow optimal default settings to be established for each image title. These settings may be changed during the scanning process if necessary.
•Resolution: Select the default Dots per Inch for this image title from the drop-down list.
•Color Depth: Select the default scanning color for this image title. Black and White, Grey Scale and Color are the available options.
•Document Size: Select the default size for this image title from the drop-down list. The size may be set to Letter, Legal, Index Card or Business Card parameters.
•Narrative Tab: Select the chart tab within TruBridge Provide EHR that the scanned image will populate. This is only used for clinic patients.
•Enable Automatic Document Feeder: Select this field if the scanner used has an automatic document feeder attached.
Select Save from the action bar once all information has been entered.
To make changes to an existing image title, double-click it from the Image Titles screen to return to the Image Titles Edit screen.