|
<< Click to Display Table of Contents >> Printing Checks |
  
|
|
<< Click to Display Table of Contents >> Printing Checks |
|
The check-printing program will generate a file for all outstanding invoices without a Pay Code of N, and will print the actual checks. The following steps should be taken to print checks:
Select Checks/Stubs/File Generation from the Accounts Payable Print Reports Menu.
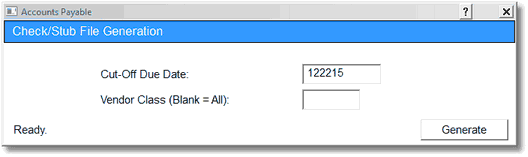
Check/Stub File Generation
•Cut-Off Due Date: The Cut-Off Due Date for the invoices to be paid should be entered.
•Vendor Class: The Vendor Class Code should be entered, if applicable. Leaving this field blank will print checks for all Vendor Class Codes.
•Generate: Once the Cut-Off Due Date and Vendor Class is entered, select Generate. This will generate the check writing file.
Once the Generate is selected, the following screen will display:
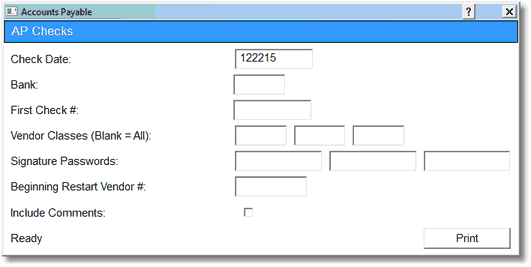
AP Checks
•Check Date: Enter the date that will print on the check. This is the date that will affect General Ledger.
•Bank: Enter the Bank Code for the checks. Entering a ? will provide a lookup for the Bank Code.
•First Check #: The system will default to the next available check number for that Bank Code. This field may be over-keyed.
•Vendor Classes (Blank = All): Enter up to three codes, if necessary, or leave blank to print for all.
•Signature Passwords: If utilizing Secure Check Signature, the password(s) should be entered. Otherwise, the cursor will skip over this field.
•Beginning Restart Vendor #: If a restart is needed, enter the vendor number to begin printing or press Enter to skip this field.
•Include Comments: If selected, the AP Memo from Invoice Entry will print below the accompanying invoice number on the check stub. The check stub will list up to eight invoices and memos. If left blank, the AP Memo will not print on the check stub. The check stub will list up to fifteen invoices. If there are more invoices per vendor, the remaining invoices will print on the following check stubs.
•Print: Select Print to start the print process.
If a Micro-line printer is selected instead of a laser printer, the following screen will display:
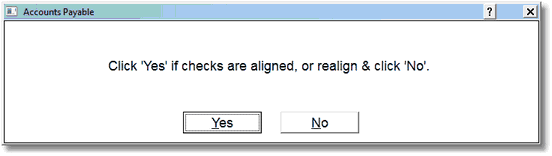
AP Check Printing
•No: No should be selected until the checks are lined up correctly. When selected, the system will print one line of the check at a time.
•Yes: Yes should be selected when the check is lined up correctly and the remainder of the checks needs to be printed.