|
<< Click to Display Table of Contents >> Printing Special AP Checks |
  
|
|
<< Click to Display Table of Contents >> Printing Special AP Checks |
|
Selecting Special Checks from the Accounts Payable Print Reports Menu provides a way of printing checks for selected vendors or invoices. This may be selected if only a few vendors or invoices need to have a check without going through the actual check run. This is not designed for large check runs. When using this check printing option, caution must be taken because it will ignore all Due Dates and all Pay Codes of N.
When printing Special AP Checks, the system will print 15 invoices on the stub, print "Continued" at the bottom of the stub, void the check portion of the check and continue to print a second check. The second check will have any additional invoices, up to 15, and will then print a check for the total of all invoices on both stubs. The stub portion of the first check will be sent along with the second check to the vendor.
The following steps should be taken to use the Special Checks option:
Select Web Client > System Menu > Accounts Payable > Print Reports > Special Checks
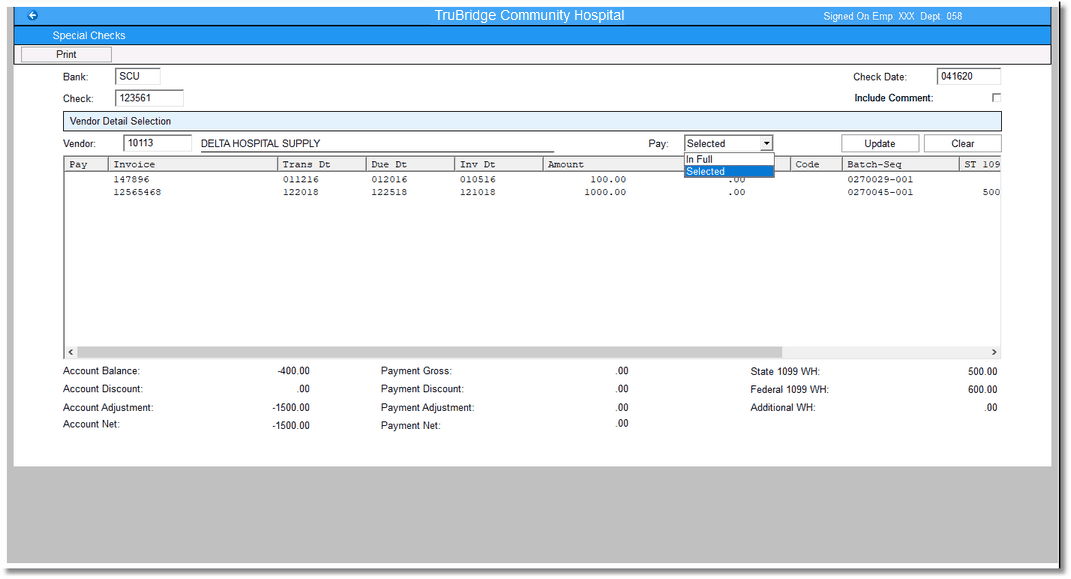
Special Checks
•Bank: Enter the three-character Bank Code from which checks should be written.
•Check: The system will default to the next available Check Number for that Bank Code. This field may be over-keyed.
•Check Date: Enter the Date that will print on the check. This is the date that will affect General Ledger.
•Include Comment: If selected, the AP Memo from Invoice Entry will print below the accompanying invoice number on the check stub.
•Vendor: Enter the Vendor number that needs a check printed. Enter a ? to access a Vendor lookup.
•Pay: Select from the drop-down box to pay all invoices, In Full, or to just pay select invoices, Selected.
After an invoice is selected, select Update. Selecting Clear will clear that vendor information and allow you to key in another vendor number. Once all invoices have been selected for payment, select Print.
If utilizing Secure Signature, the system will prompt for passwords.
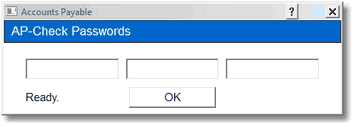
AP-Check Passwords
Enter the passwords and select Ok.
If a Micro-line printer is selected, the following prompts will display:
•Next Line: N should be entered until the stubs are lined up correctly. When selected, the system will print one line of the check at a time.
•Continue: C should be entered when the stub is lined up correctly, and the remainder of the stubs will print.
The system will return to the vendor number prompt to allow a check to be generated for another vendor account.
The system will prompt, “Finalize checks?” Select Yes to update each invoice that was paid with a Pay Code of P and create the General Ledger transactions.
After all checks are printed, a Transaction Edit List must be run to move the General Ledger entries to permanent files.