|
<< Click to Display Table of Contents >> Steps to Create Sub Invoices |
  
|
|
<< Click to Display Table of Contents >> Steps to Create Sub Invoices |
|
Sometimes an invoice may be entered for a large amount and needs to be paid using partial payments so that the expense is not incurred all at one time. The system will allow a master invoice to be entered for the full amount due, then additional sub-invoices are entered for the partial payment amounts totaling the full amount. The master invoice is entered as usual and will be used for tracking purposes only. If an invoice needs to be divided into sub-invoices for partial payments, the following steps should be taken:
1.Select the New Invoices option.
2.Answer Yes to "Enter thru PO Reconciliation?"
3.Enter the Vendor, using the ? lookup window if needed.
4.Complete the master invoice, making sure that all desired items from the Purchase Order are included on the invoice that will be divided into partial payments.
5.Select Invoice when the master invoice is completed, and select Partial for partial payment.
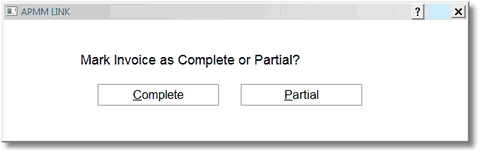
AP-MM Link
6.A prompt will appear Enter Suffix Code. The two-digit code entered here will be added to the end of the sub-invoice number. This code will identify this as a sub-invoice.

Suffix Entry
Select PO Items, to select the item numbers and quantity to be paid by this invoice. The following screen will display:
Select Web Client > System Menu > Accounts Payable > New Invoices > Yes > Vendor # > PO Items
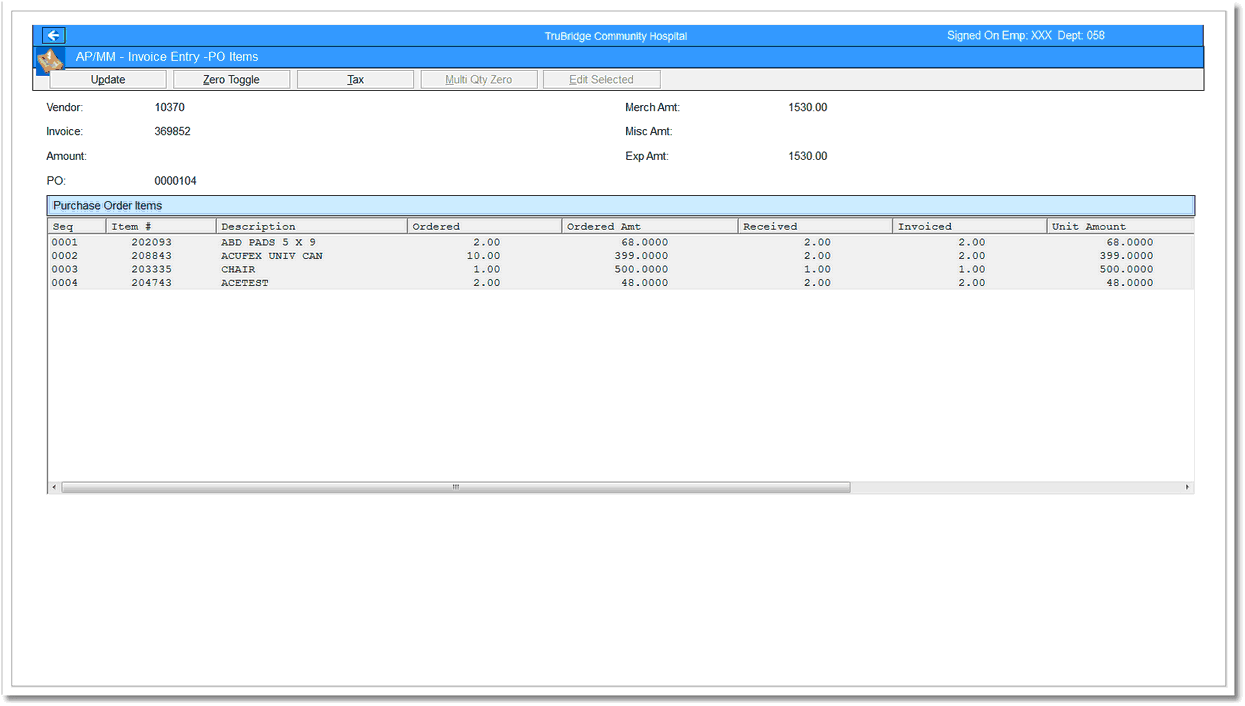
AP/MM - Invoice Entry-PO Items
NOTE: A different quantity may be entered or select the Multi Qty Zero option to remove the items that are not being paid.
After selecting the items to be paid, select Update and exit to the Invoice Entry screen. Over-key the amount with the sub-invoice amount to be paid. The system will prompt for a Transaction Date. Enter the Due Date of the sub-invoice. Remove I from the Status Code field. Continue to select Invoice and Partial until the entire master invoice amount is distributed.
After creating the sub-invoices, select Suffix to review.
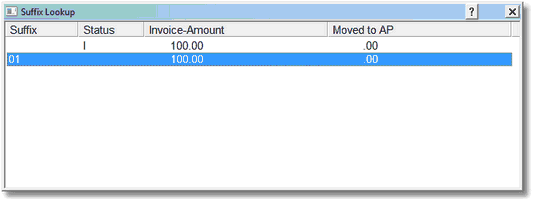
Suffix Lookup
The sub-invoices and the amount of each is listed. Only the total amount of the master invoice is moved to permanent file when the Transaction Edit List is printed as an update.
If sub-invoices are created, the master invoice will not be used when printing checks and will not display on the Vendor Account Detail. Instead, the sub-invoices will appear on the Account Detail and will be used to generate checks for the partial payment amounts when they become due.
Select Web Client > System Menu > Accounts Payable > Vendor Detail
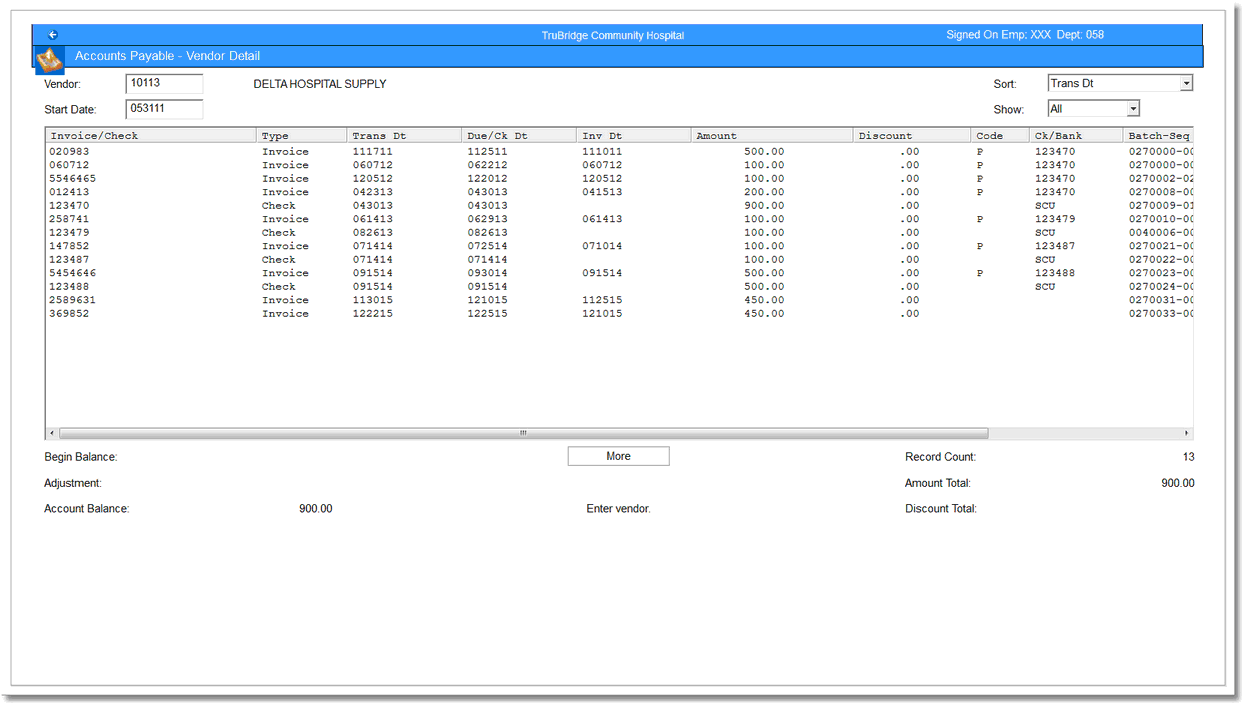
Accounts Payable - Vendor Detail