|
<< Click to Display Table of Contents >> From the Bell Icon |
  
|
|
<< Click to Display Table of Contents >> From the Bell Icon |
|
The Bell Icon is on the Action Bar, and is therefore accessible at any time while in TruBridge EHR. To compose a new Internal Mail, select the Bell Icon  , select the Envelope icon
 , then select Compose.
Select Web Client > Bell Icon > Envelope Icon > Compose
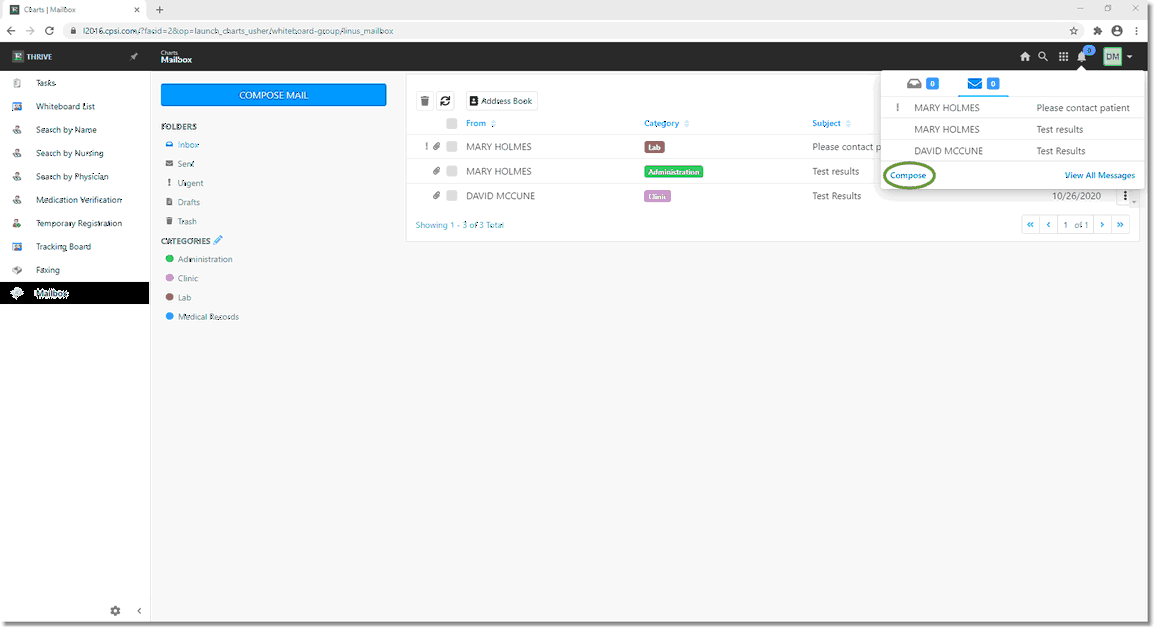
Compose Mail
Select Web Client > Bell Icon > Envelope Icon > Compose
Compose Mail
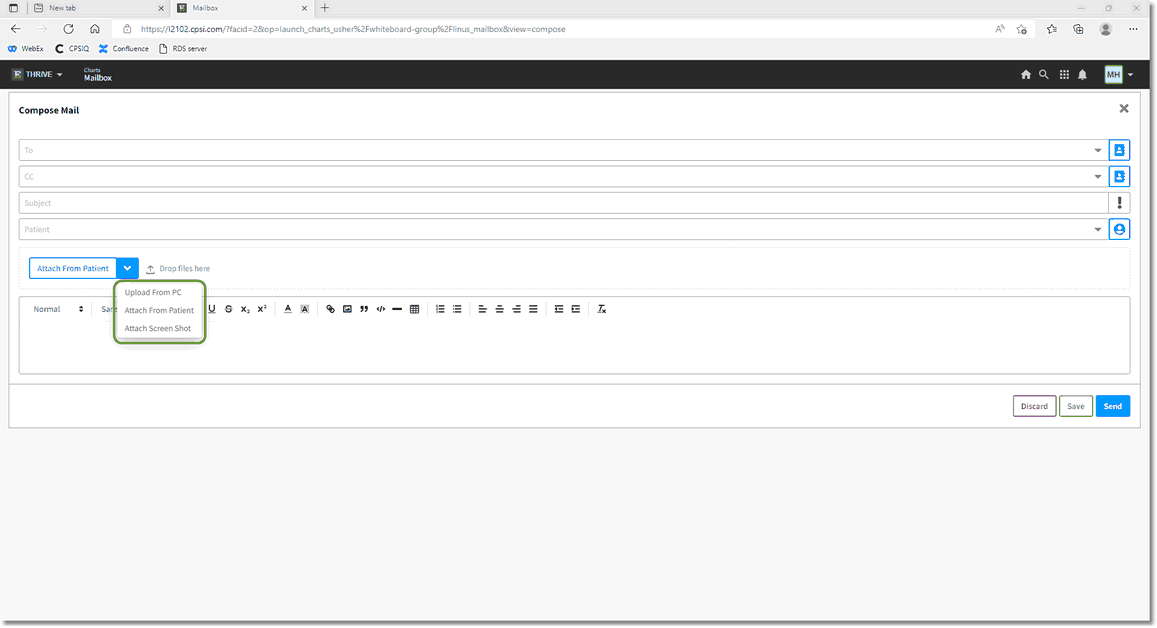
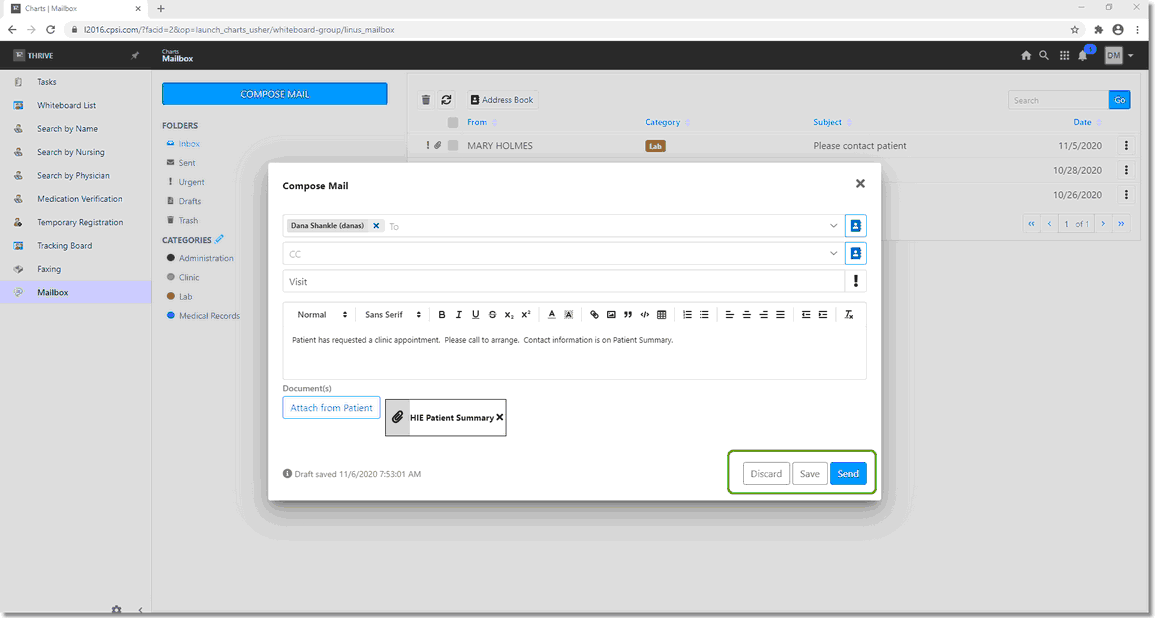
Follow these steps to compose an internal mail message:
| • | Select the receiver of the message: |
| • | Enter the first few letters of the recipient's name. Thrive will open a list of all Address Book entries that fit the search. |
| • | Select the Person icon |
| • | Repeat the above instructions for adding a "Carbon Copy" receiver of the mail. |
| • | Enter a subject for the message in the Subject field. |
| • | If the message is Urgent, select the Exclamation Point icon |
| • | Enter the body of the mail message. |
| • | If this message is regarding a patient, and patient documents need to be attached to the message, select the Attach From Patient dropdown menu. You will be given three options: |
| • | Upload from PC - Allows an image from the user's PC to be attached to the mail. |
| • | Attach From Patient - Allows documentation from the patient chart to be attached to the mail. |
| • | Attach Screen Shot - Allows the user to take a screen shot of any window and attach to the mail. |
Select Web Client > Bell Icon > Envelope Icon > Compose > Attach from Patient
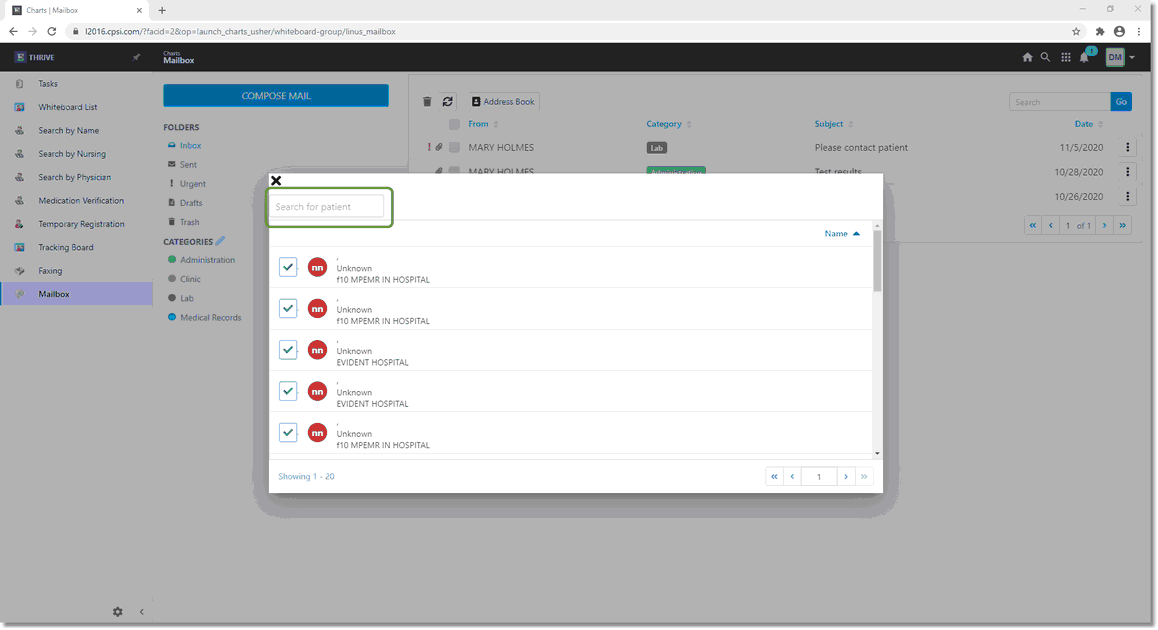
Attach from Patient
Enter the desired patient name and select the documents to attach. Attached documentation may be previewed prior to sending. Select Attach.
Select Web Client > Bell Icon > Envelope Icon > Compose > Attach from Patient
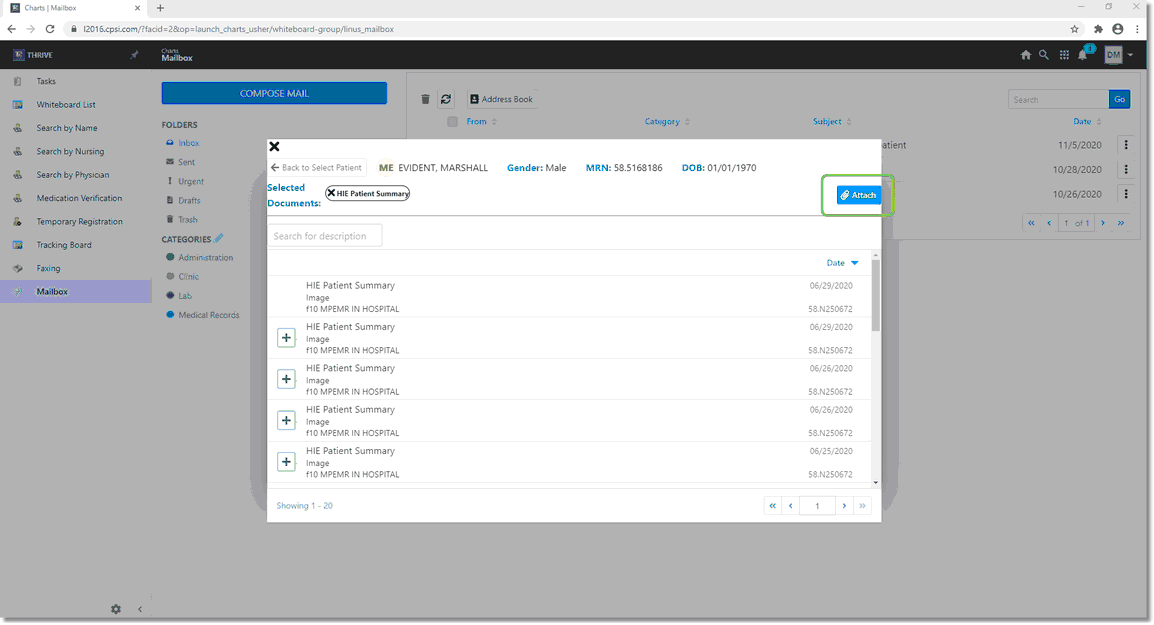
Attaching a document
Compose the message and select Send. To delete the message, select Discard. To save the message without sending, select Save.
Select Web Client > Bell Icon > Envelope Icon > Compose > Attach from Patient
Compose Mail
Internal Mail that has been sent may be viewed from the Sent folder in the Mailbox Application.
Select Web Client > Mailbox > Sent
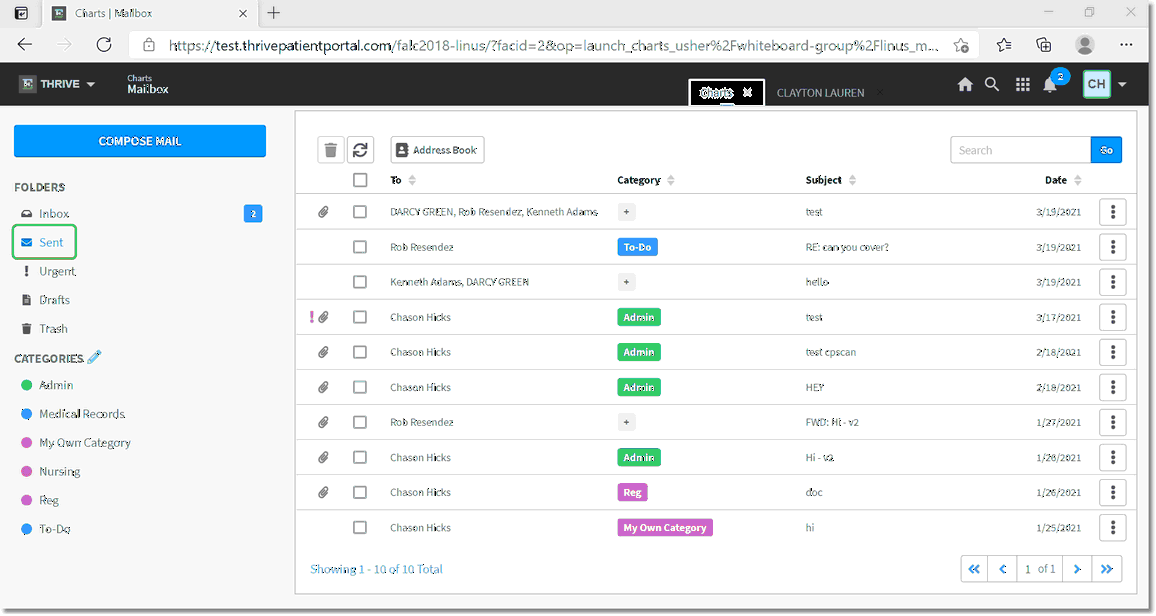
Sent Mail