|
<< Click to Display Table of Contents >> Importing Documents |
  
|
|
<< Click to Display Table of Contents >> Importing Documents |
|
Selecting the Import from Inbox radio button indicates that imported CCDA's from a third party will need to be attached to the selected patient's account. Select Import From Inbox then select the ![]() binoculars to view a listing of all imported documents.
binoculars to view a listing of all imported documents.
NOTE: The Import From Inbox option is also available from the Health Information Resource screen.
Select Web Client > Charts > Select Patient Account > Scanned Images > Add File
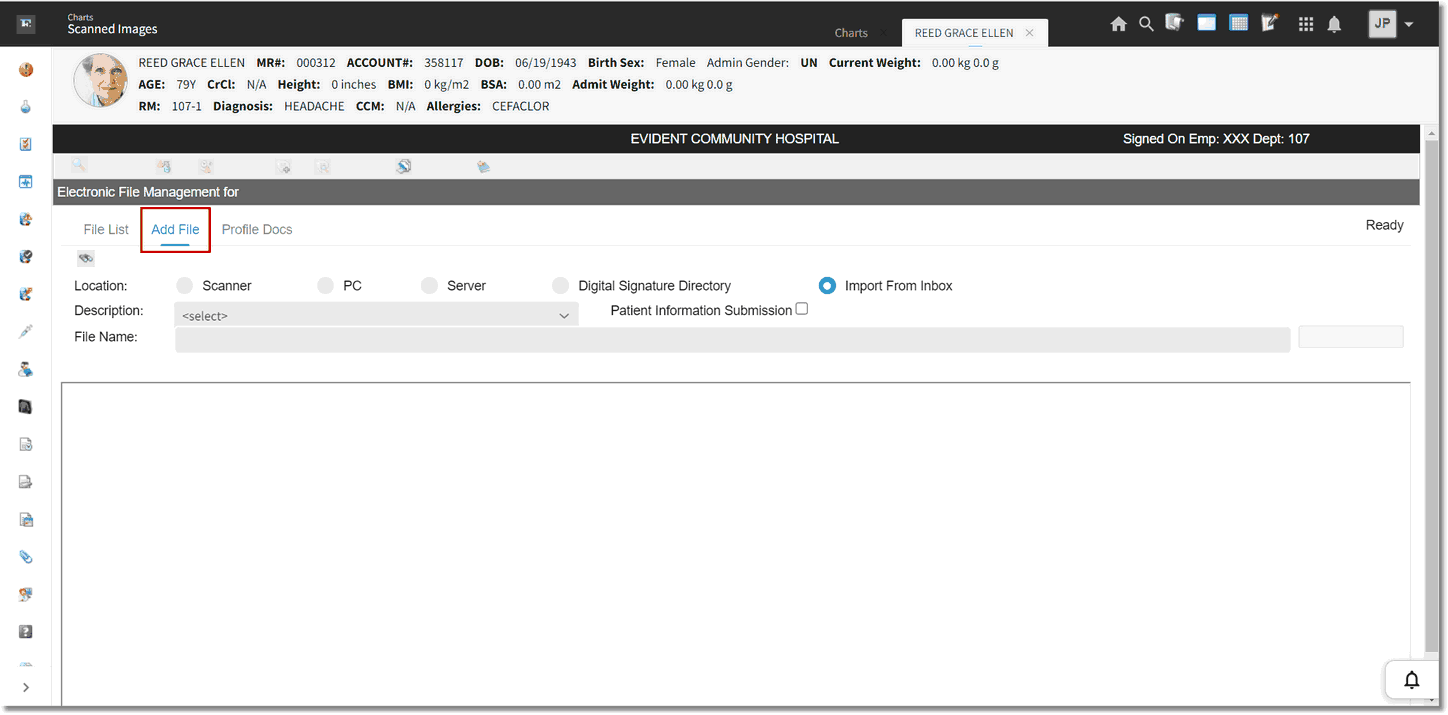
Electronic File Management
Once the binoculars have been selected, the Document Queue screen will display any potential matches for the patient the user is locked onto. A potential match will be any documents received from a third party with the same Date of Birth, Birth Sex and the first three letters of the first name or last name of the patient. The Type field will identify the type of document in the inbox.
To view a listing of all documents received for all patients, select the View Document Queue - All option from the action bar
To remove a CCDA listed on this screen, select the patient from the Document List and then select Delete from the action bar. This will permanently remove the CCDA from the list.
To attach the CCDA to the patient's account, select the correct patient from the Document List, and select View from the action bar to display a copy of the CCDA. The CCDA Viewer will display for the following document types: Patient Summary 1.1, Patient Summary 2.1, Referral Note 2.1 and Discharge Summary 2.1.
NOTE: To get access to the Delete option on the action bar, Health Information Resource Behavior Control "Allow Deleting Documents" will need to be set to allow.
Once the document is displayed on the screen, verify the information is correct, and select Import from the action bar to attach a copy of the patient's CCDA to the patient's selected account. The CCDA may then be found in Electronic File Management on the File List tab of the patient's account with the title associated with the document in the CCDA Image Titles table.
NOTE: If an image title has not been associated with a CCDA document in the CCDA Image Titles table, then a list of all image titles will display and will allow one of the titles to be selected.
Select the back arrow to return to Electronic File Management.
NOTE: To get access to the Import option on the action bar, Health Information Resource Behavior Control "Allow Importing Documents" will need to be set to allow.
NOTE: Allergies and medications that have a valid RxNorm code and problems that have a valid SNOMED code, will be imported into the respective screens for reconciliation.