|
<< Click to Display Table of Contents >> Creating a Filter |
  
|
|
<< Click to Display Table of Contents >> Creating a Filter |
|
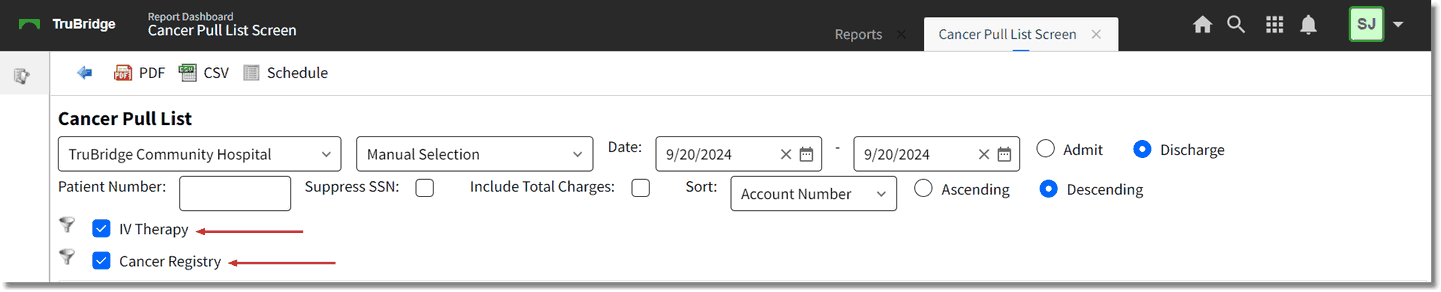
To create a new filter, single-click the filter icon next to the desired filter type.
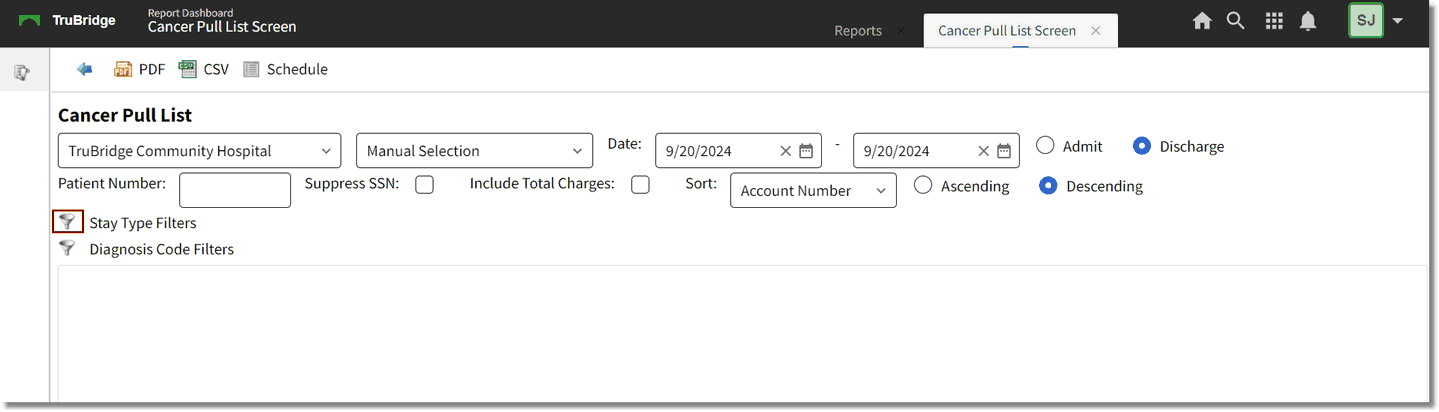
Filter
A list of filters currently associated with the user's login will display. To add a new filter, select select Add from the action bar.
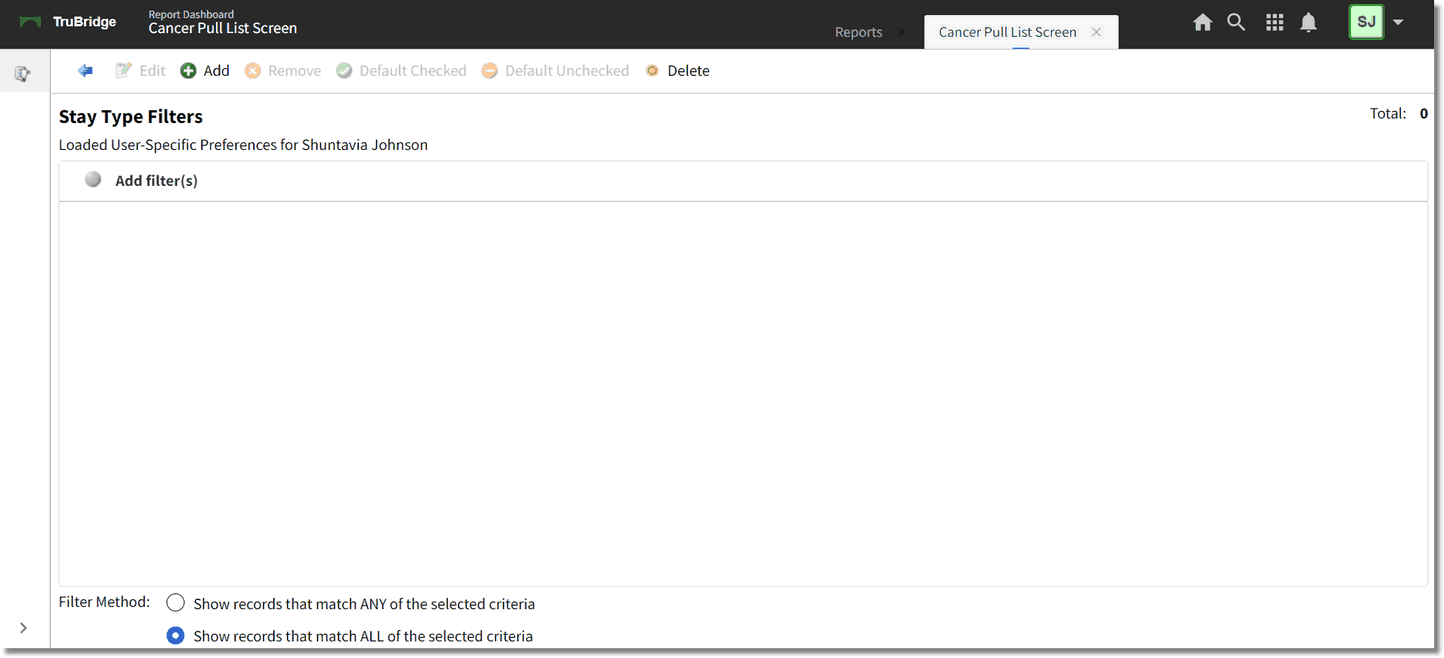
User Specific Preferences
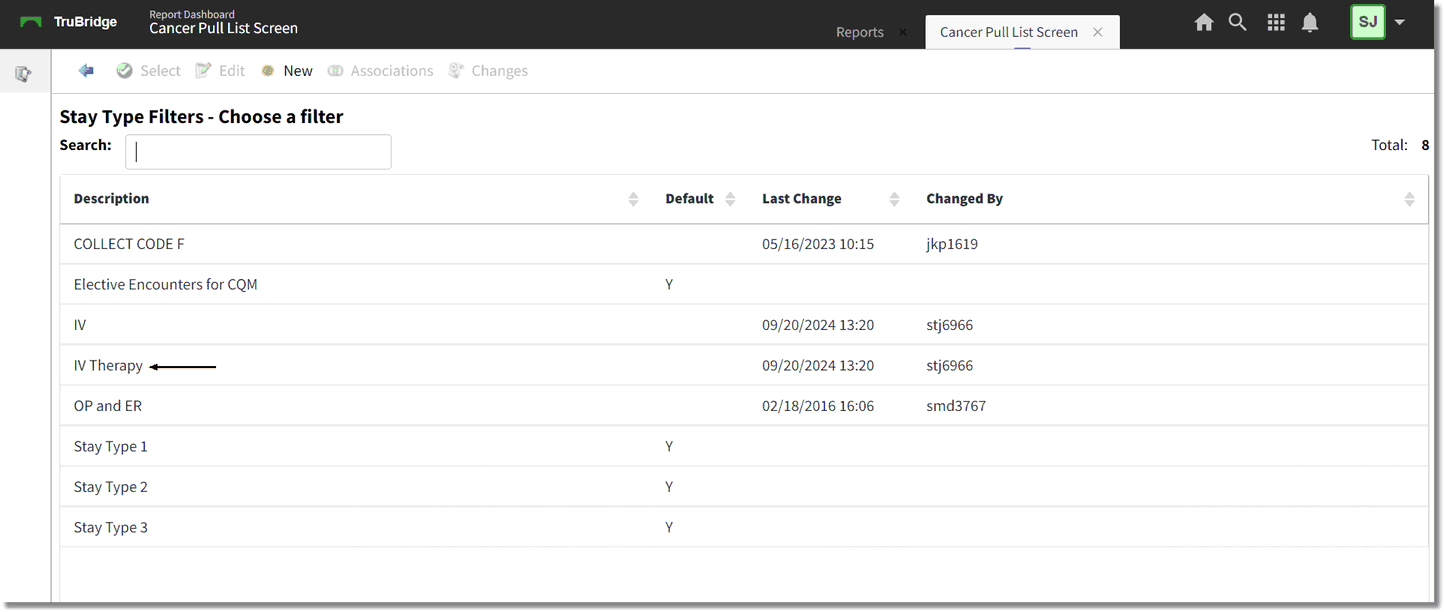
A list of available filters will display. These are either default filters that were created by TruBridge or filters that were previously created for the screen. If the desired filter already exists, select it from this screen to add it as a preference for the login. If the filter does not exist select New to create a new filter.
Choose a Filter
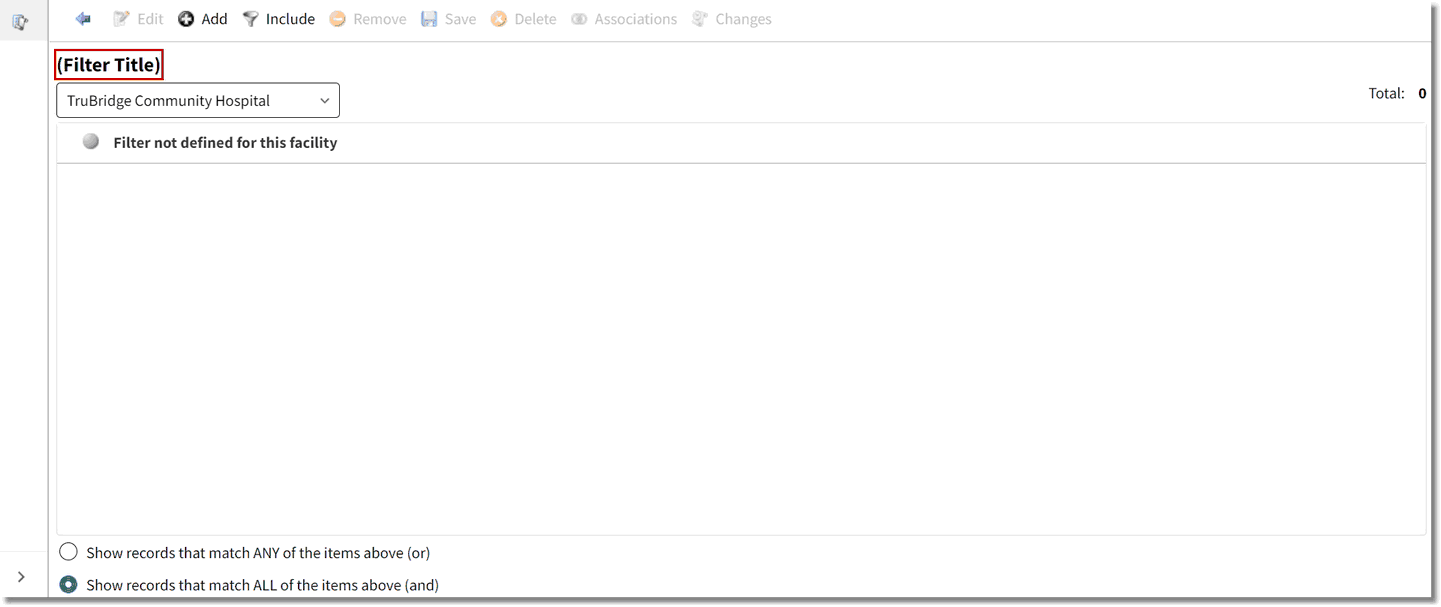
Select (Filter Title) to enter a specific title for the filter being created. For example, if creating a diagnosis code filter that includes a range, title the filter "Diagnosis Codes XXXXX through XXXXXX", replacing the X's with the beginning and ending codes in the range.
New Filter
Next, select Add to define the filter parameters.
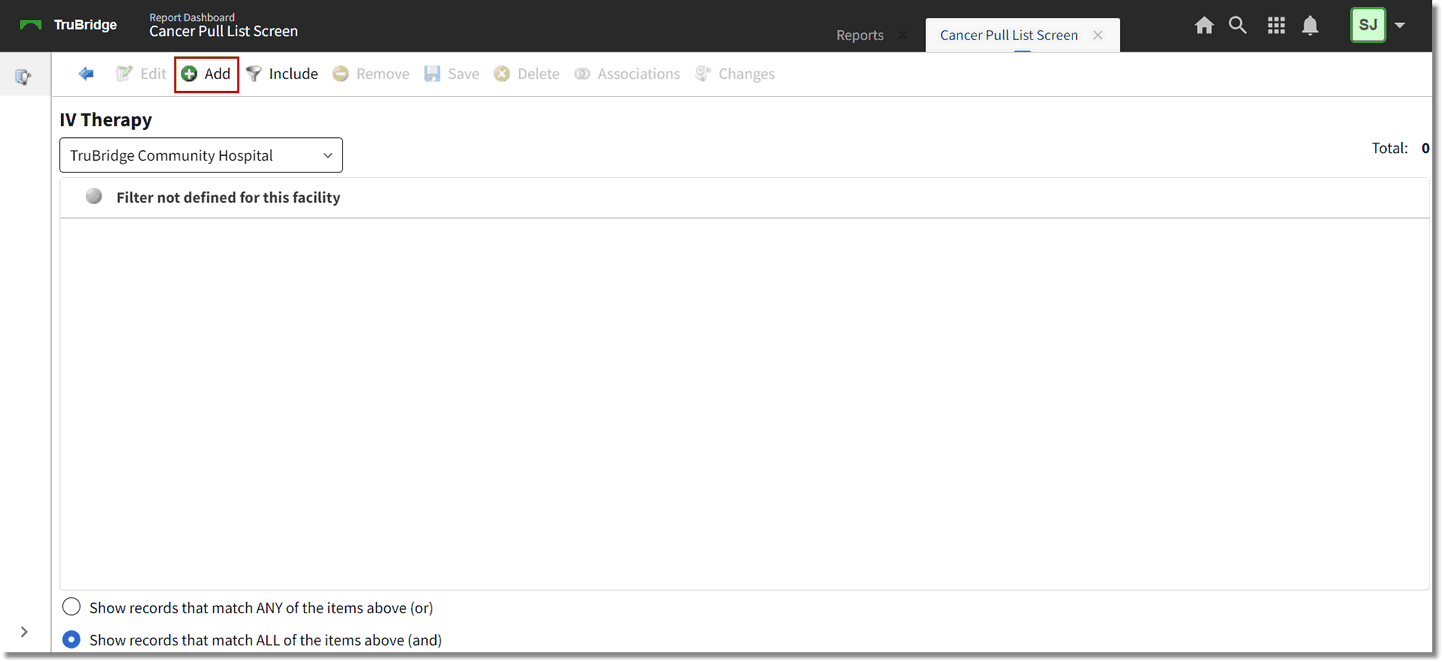
Filter Parameters
A list of fields will display. These are the fields that may be used to delimit the information that pulls to the screen. A search feature is available. Once found, select the desired field then choose OK.
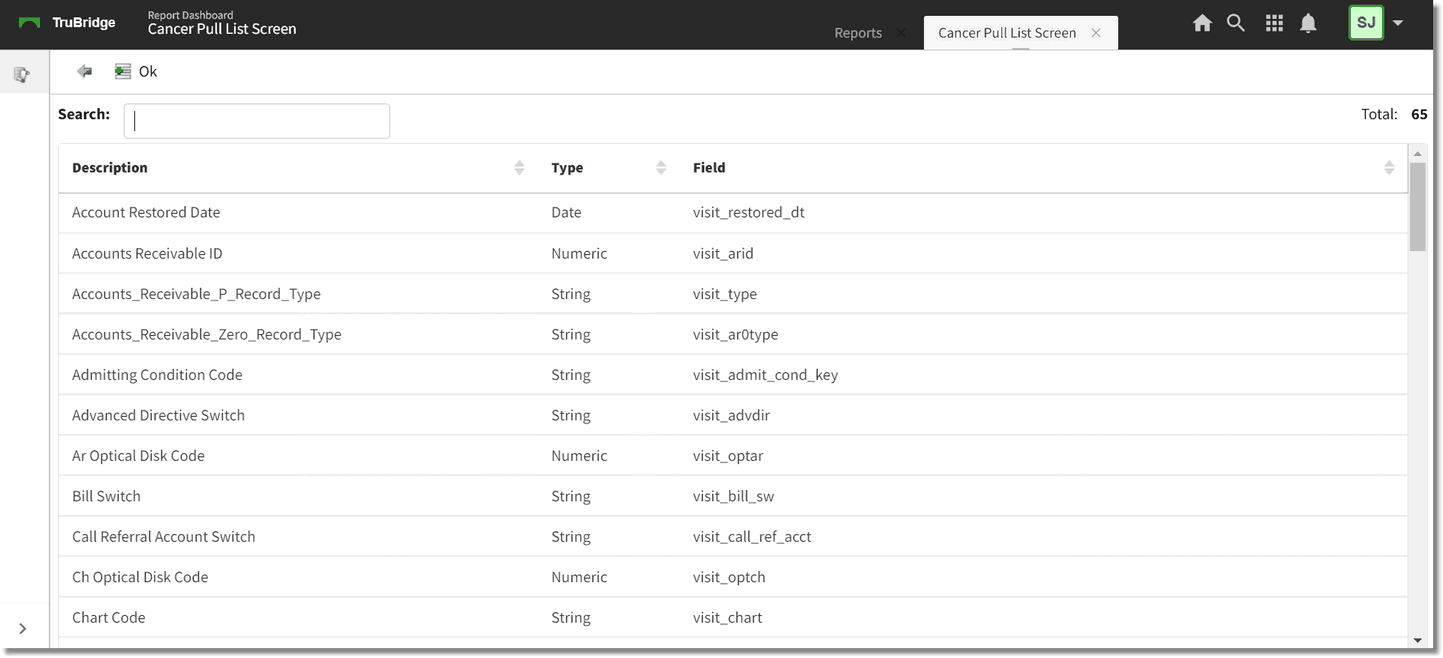
Field List
A screen containing a list of possible configuration statements will display.
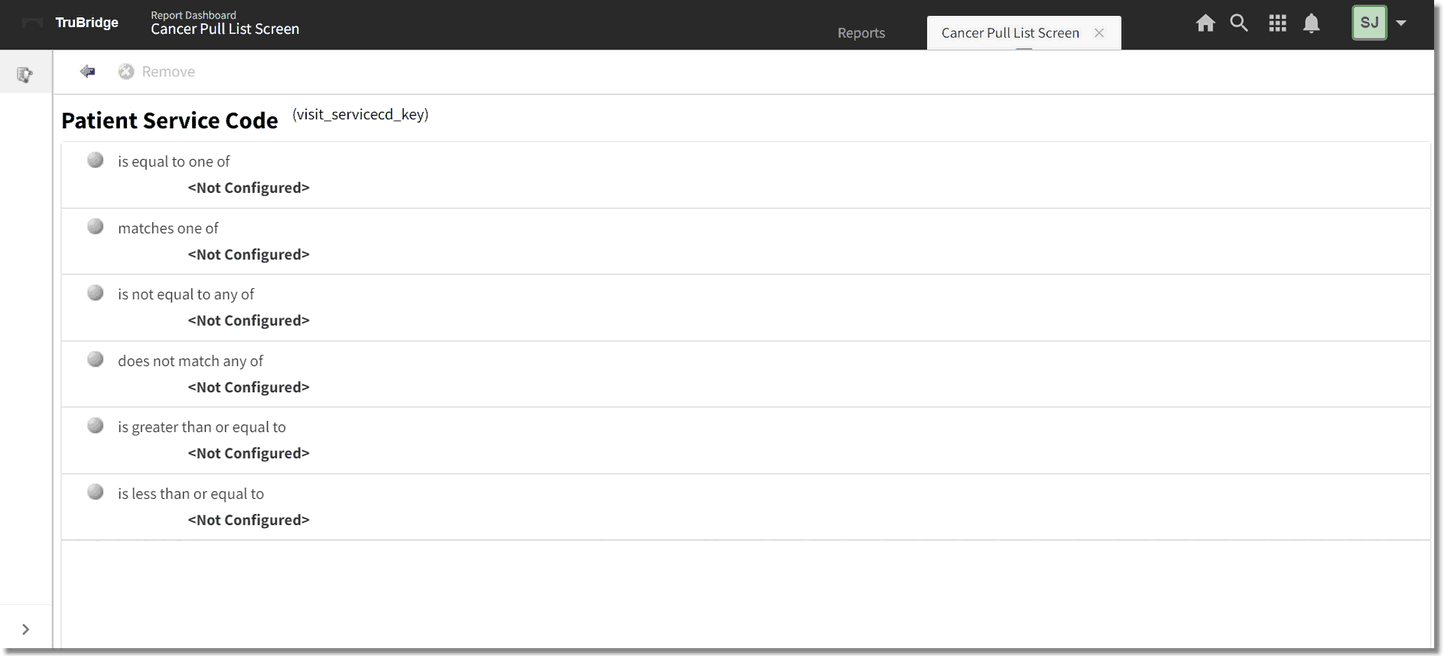
Configuration
Double-click the statement that best suits the purpose of the filter. The next screen will allow a Value to be entered. Input the value at the bottom of the screen then select Enter. Multiple values may be entered if needed.
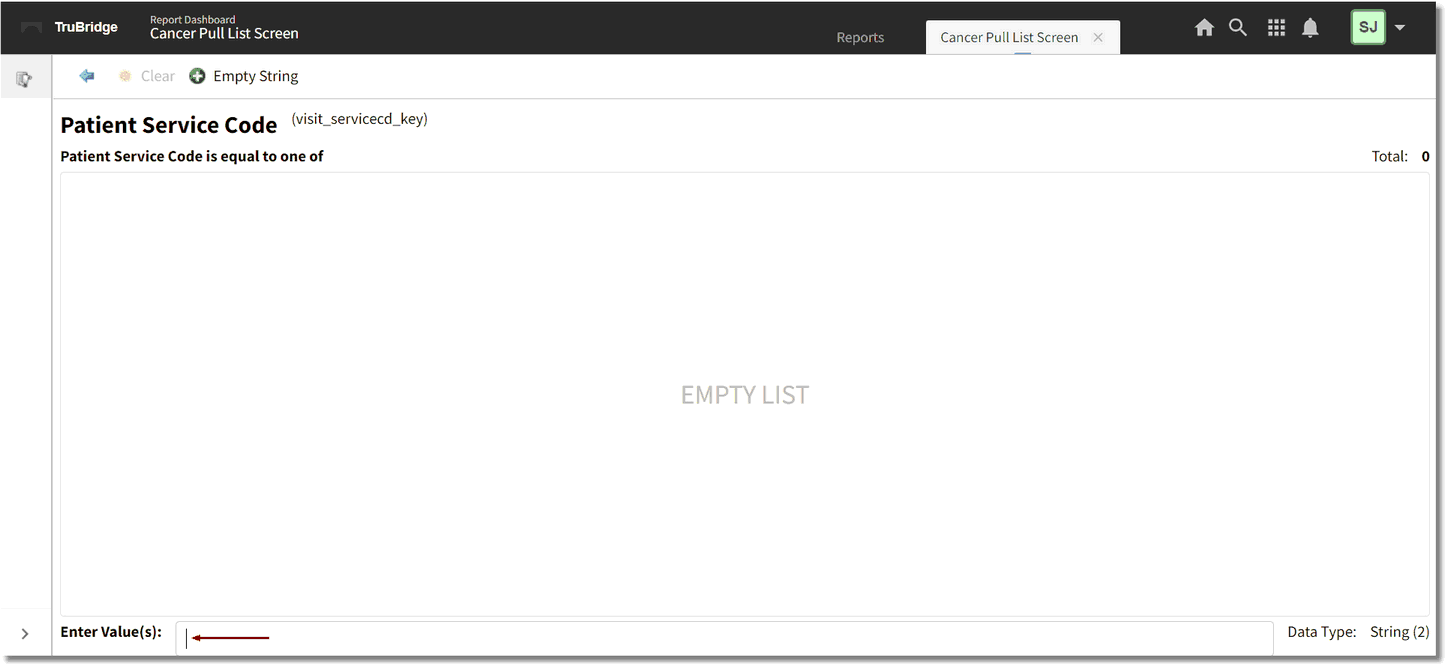
Value
Once all values have been entered, select the back arrow. The selected values will display under the configuration method. Multiple configuration methods may be used for a single field if needed.
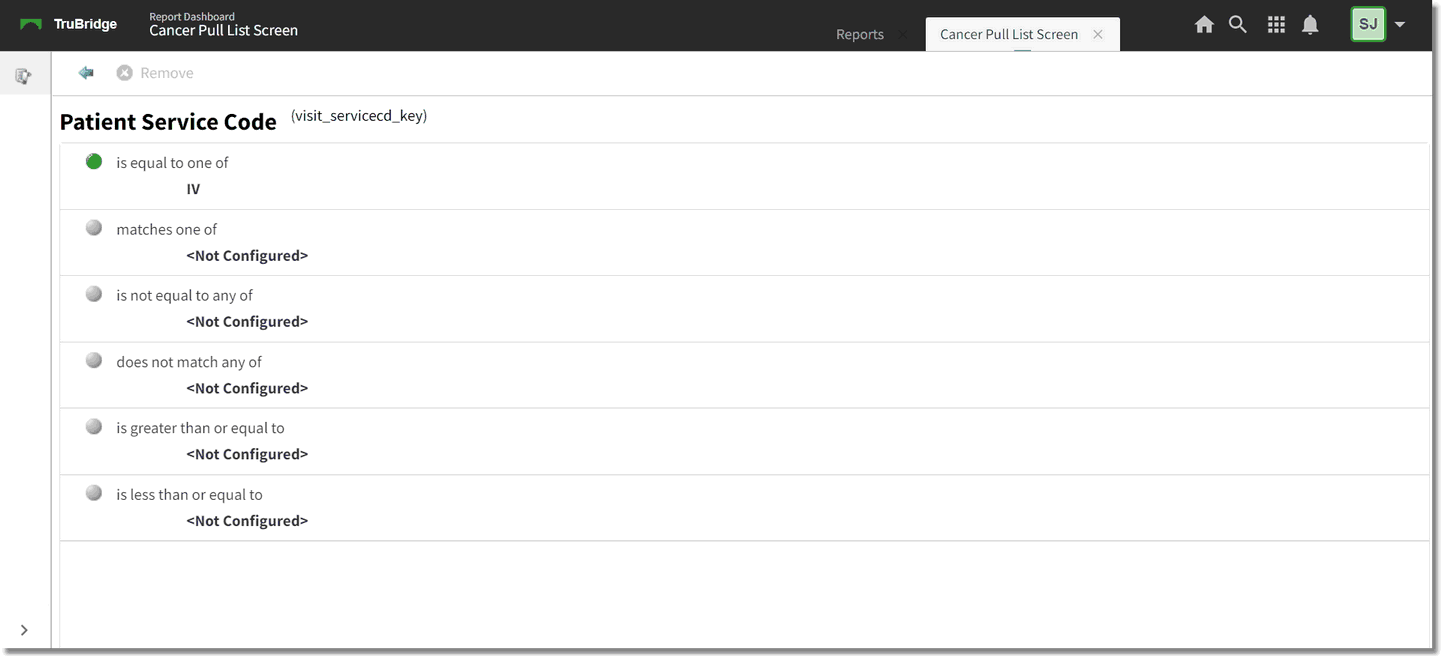
Configuration
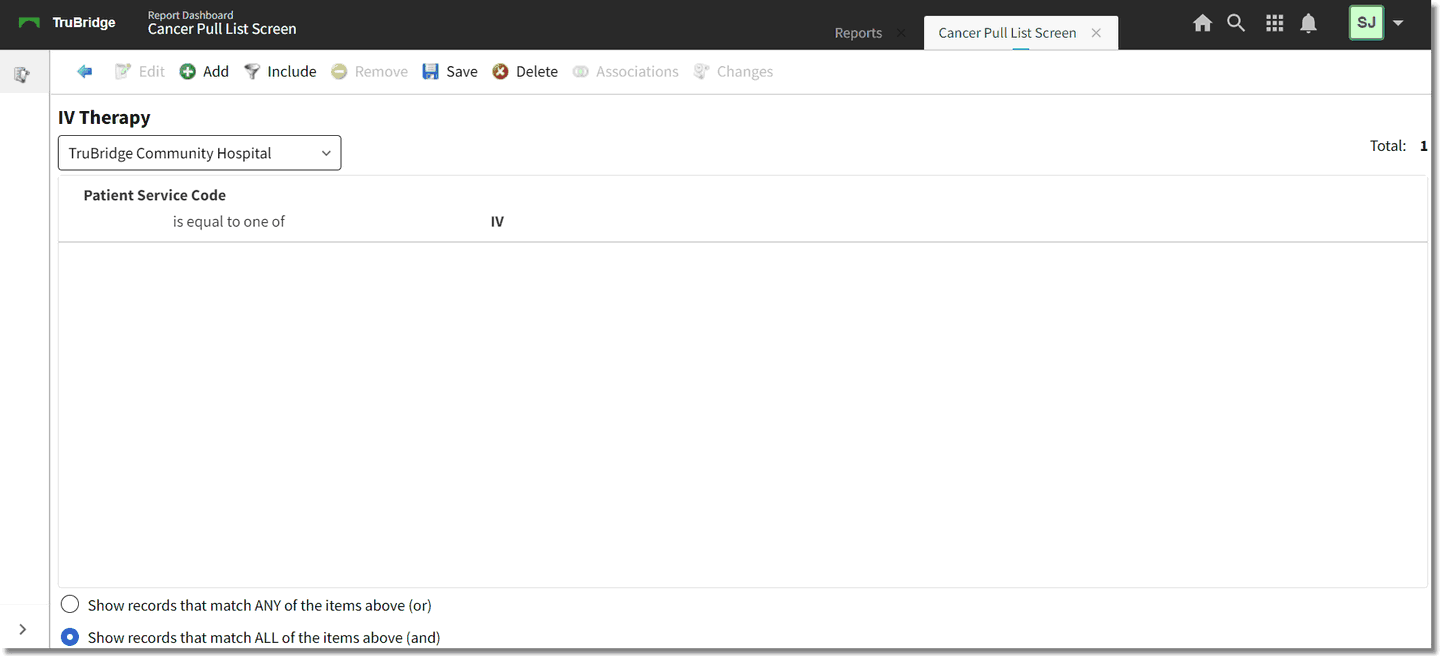
Once the configuration is complete, select the back arrow. The filter will display with the selected field and configuration. Multiple fields may be added to one filter. Follow the same steps to add additional fields.
NOTE: If building filters for a range of data, such as a diagnosis code range, a new filter will need to be set up for each range. These filters may then be combined into one comprehensive filter. See Nesting Filters for more information.
Filter Parameters
Once all fields have been identified, choose a Filter Method at the bottom of the screen.

Filter Method
Selecting ANY will display patients that meet the criteria of a single parameter defined in the filter. Selecting ALL will display only those patients that meet every parameter defined in the filter. Once the appropriate filter method is selected, select Save then select the back arrow. The new filter will now be added to the list of available filters.
Choose a Filter
Double-click the new filter to add it as a preference on the user's login. The User Specific Preferences screen will now display.
User Specific Preferences
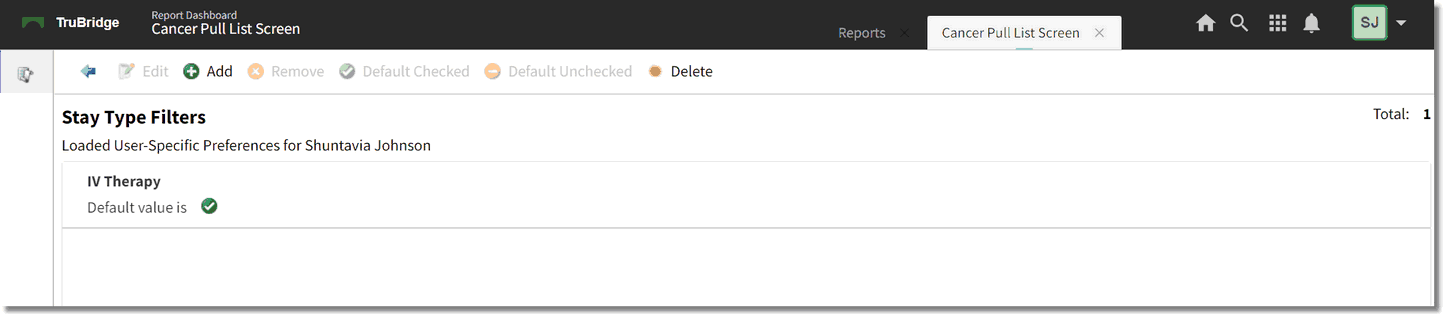
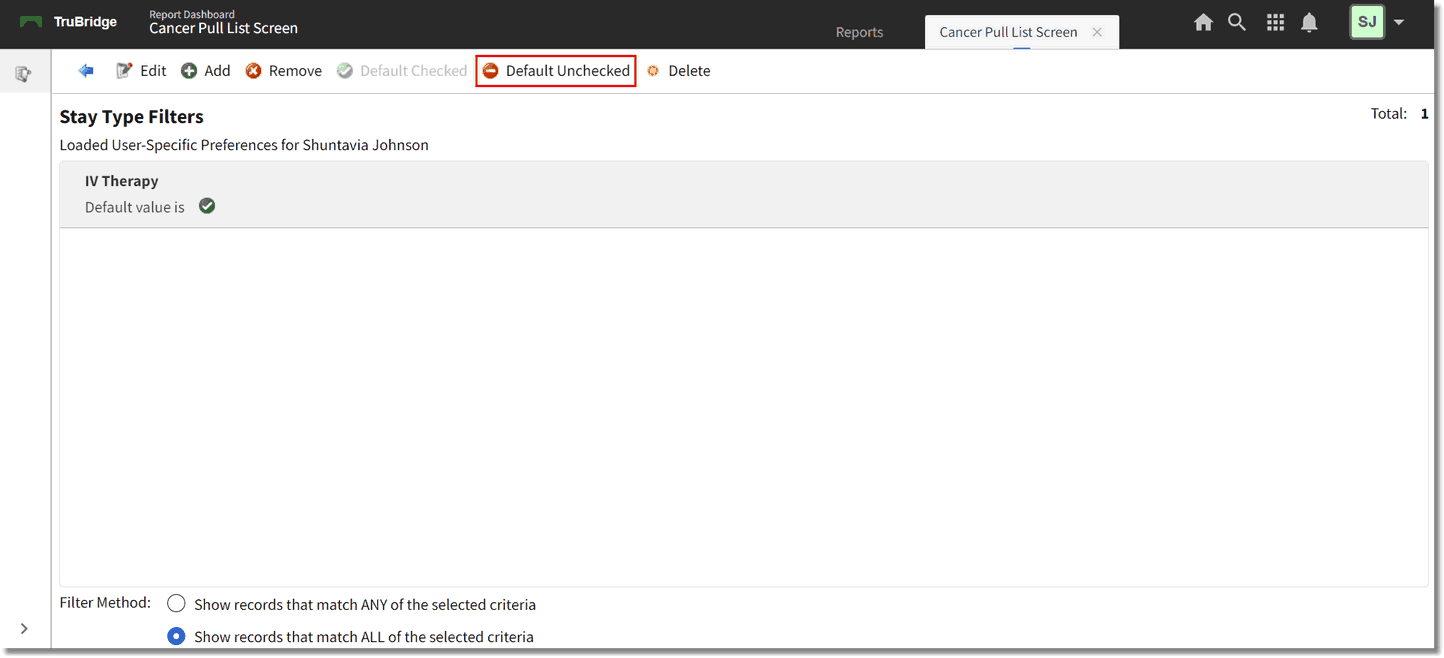
The default value for the filter may be adjusted so that it is either preselected or unselected when the screen is accessed. Select the filter and then select either Default Unchecked or Default Checked to change this setting.
User Specific Preferences
If multiple filters are being used by the login, the Filter Method may need to be adjusted.

Filter Method
Selecting ANY will display patients that meet the criteria of a single filter used by the login. Selecting ALL will display only those patients that meet the criteria for every filter used by the login. Once the appropriate filter method is selected select the back arrow.
Cancer Pull List Screen
The Filter will now be displayed every time the screen is accessed and may be selected or deselected as necessary. For more information on building or editing filters, please see the Filter Builder user guide.