|
<< Click to Display Table of Contents >> Nesting Filters |
  
|
|
<< Click to Display Table of Contents >> Nesting Filters |
|
Many times, multiple filters must be created for a specific reporting purpose. Nesting the filters will allow multiple filters to be combined into one filter to save space on the screen and make reporting easier.
First, all individual filters must be created. See Creating a Filter for more information. Next, create the Nesting Filter. To do this, select the filter icon next to the specific filter type that contains the desired filters. Then, select Add followed by New. Select (Filter Title) to enter a name for the filter being created. In this instance, give the title a name that denotes the specific type of report for which these ranges are to be utilized, such as "Cancer Registry" or "AMI".
Once a title has been set, select Include at the top of the screen.
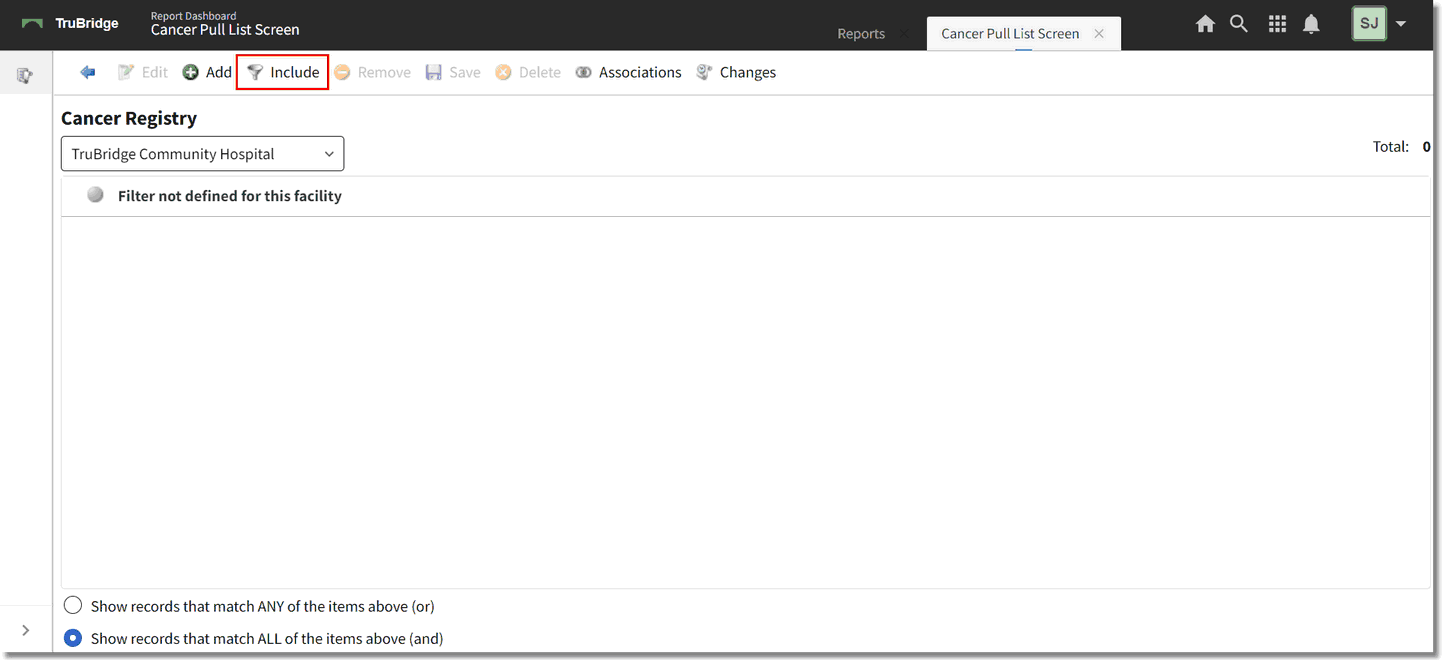
Nesting Filter
A listing that includes all available filters for that filter type will display. Single-click one of the filters to be included, and then choose Select. Continue by adding the next filter in the same manner.
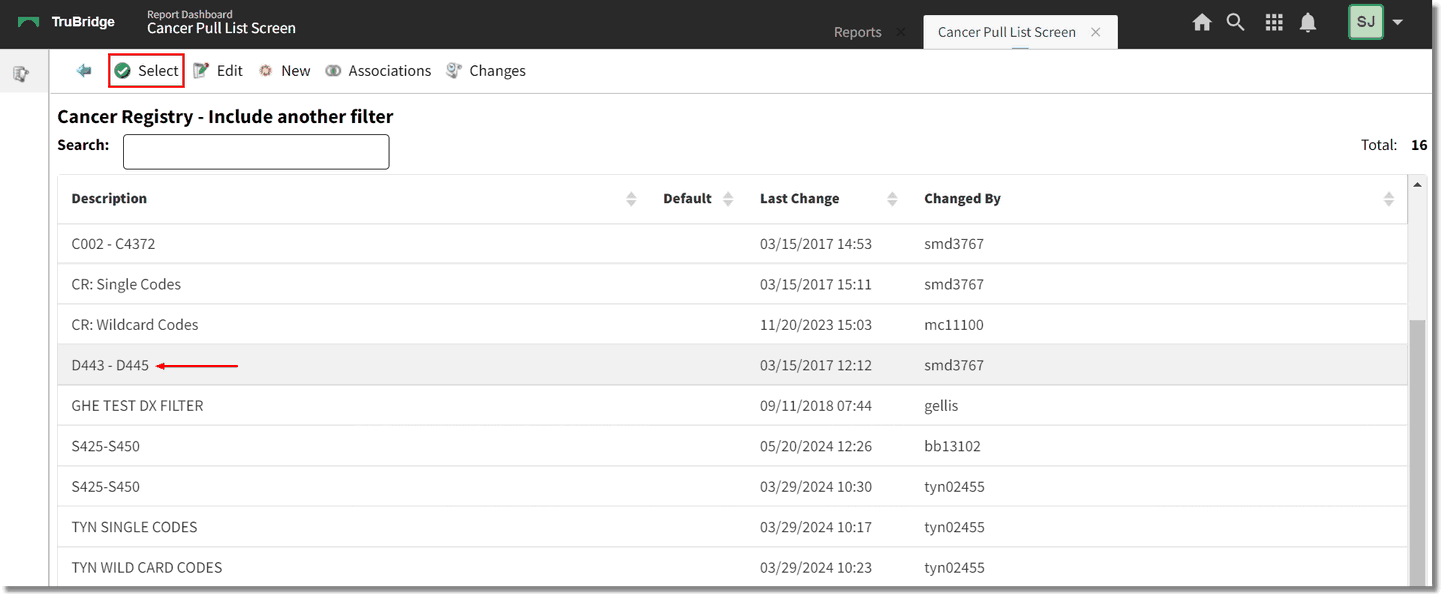
Nesting Filter
Once all desired filters have been selected, select Save and then the back arrow. The new filter will now be added to the list of available filters. Double-click the new filter to add it as a preference on the user's login, then select the back arrow to return to the report dashboard screen. For more information on building or editing filters, please see the Filter Builder documentation.