|
<< Click to Display Table of Contents >> From the Navigation Panel |
  
|
|
<< Click to Display Table of Contents >> From the Navigation Panel |
|
To view an incoming fax from the Navigation Panel, select Faxing.
Select Web Client > Faxing
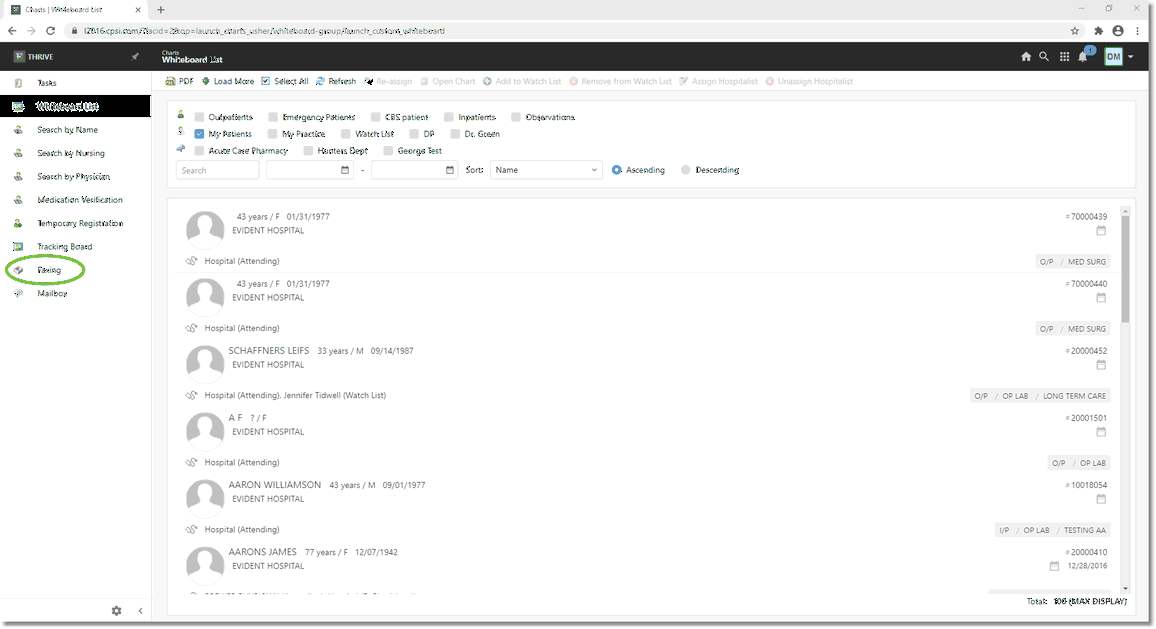
Navigation Panel
The Fax Inbox will display.
Select Web Client > Bell Icon
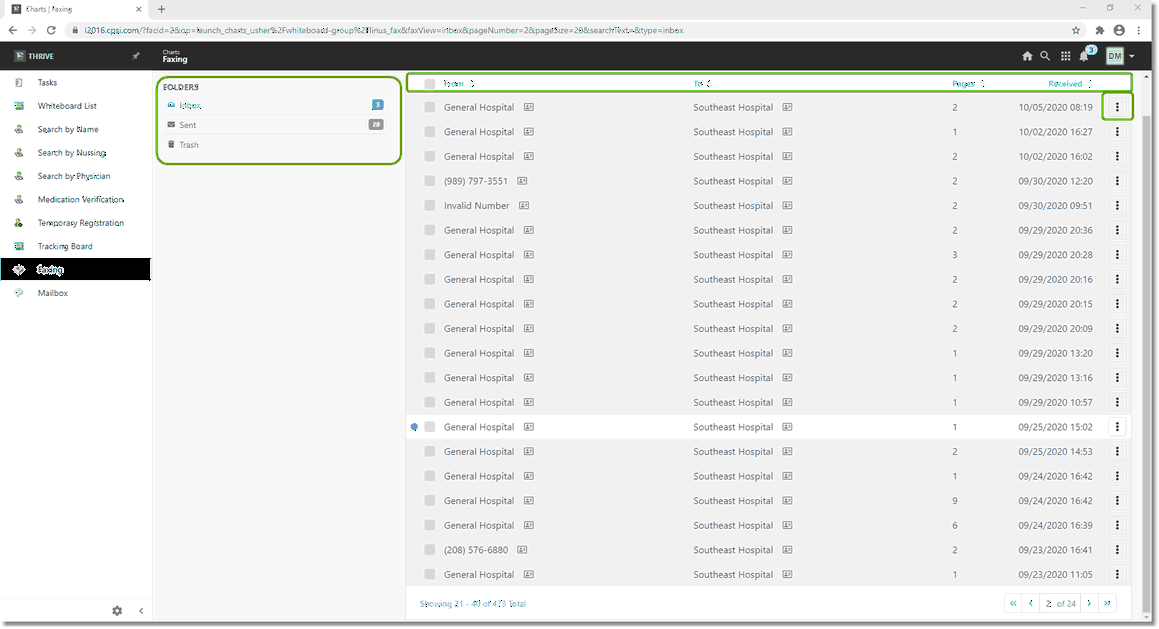
Fax Inbox
The Fax Inbox will display all incoming faxes in a list format. The column headings are:
| • | From - Displays the sender of the fax. If the name of the sender is not in the Address Book, the sender's number will display instead. If the number is not currently in the Address book, select the icon to the right of the number |
| • | To: Displays to whom the fax was sent. |
| • | Pages: Displays how many pages are in the fax. |
| • | Received: Displays a time and date stamp of when the fax was received. |
| • | The box with the 3 circles |
There are 3 folders options to the left. They are:
| • | Inbox: Displays all incoming active faxes. The number to the right indicates unread faxes. |
| • | Sent: Displays all outgoing or forwarded active faxes. The number to the right indicates faxes that are unsent. |
| • | Trash - Displays all faxes that have been deleted from the active lists. |
To View a Fax:
Select the desired fax from any of the 3 folders.
Select Web Client > Faxing > Select Fax
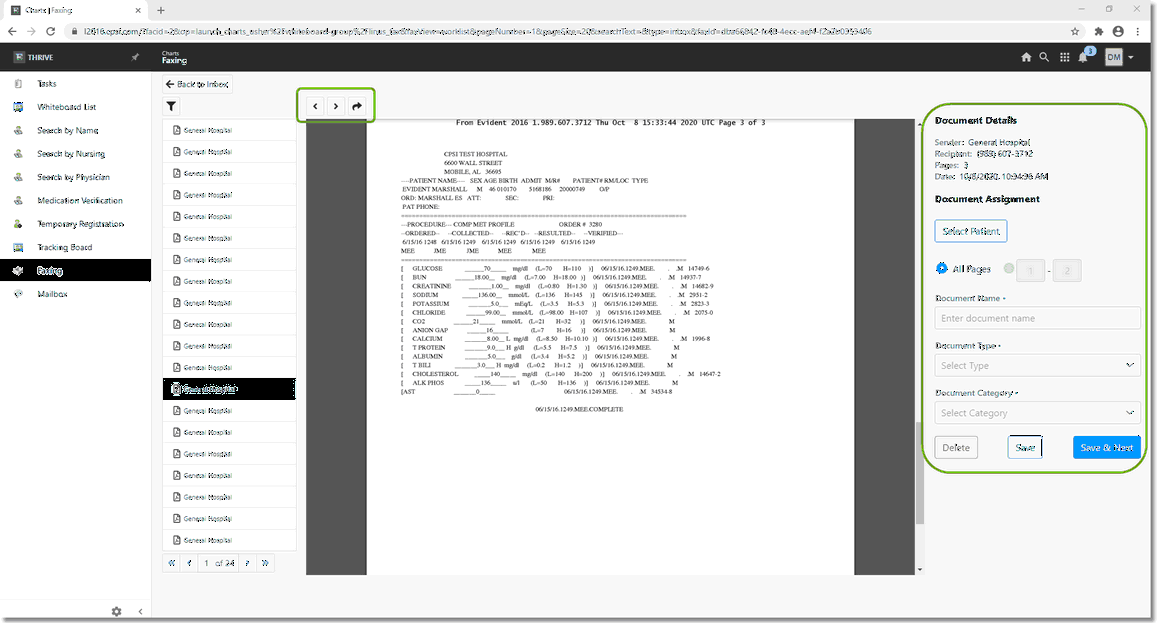
Opened Fax
The selected Fax will open with the following screen options:
Fax View Screen options:
| • | Left icon (<) - This will take the user to the previous fax in the list for viewing. |
| • | Right icon (>) - This will take the use to the next fax in the list for viewing. |
| • | Right Arrow - This will allow the user to send the fax as a mail attachment. |
Document Details:
| • | This area includes details of the fax including the Sender, the number to which it was faxed, the number of pages in the fax, and the date and time it was received. |
Document Assignment:
| • | The fax may be attached to a patient profile encounter. After you select the patient, an option to choose an encounter will become available. Choosing an encounter is optional. |
| • | Document Name: The Document may be given a user-generated name. |
| • | Document Type: A Document Type may be assigned to the fax. These types are site-defined. Please see the chapter on Document Type Setup. |
| • | Document Category: A Document Category may be assigned to the fax. These categories are site-defined. Please see the chapter on Document Category Setup. |
After the options for the fax have been chosen, the use may select to Delete the fax, Save the fax, or Save & Next, which will save the fax and take the user to the next fax on the list. Selecting Delete will send the fax to the Trash folder and will advance to the next item on the fax list.