|
<< Click to Display Table of Contents >> Moving Forms |
  
|
|
<< Click to Display Table of Contents >> Moving Forms |
|
When forms are associated with a patient, those forms are not linked to a specific account. Therefore the forms are associated with the profile instead. These forms will initially display on the Profile Docs tab in Electronic File Management. To associate submitted forms with the correct patient visit, they will need to be moved from Profile Docs to the appropriate account.
Begin by navigating to the account the form needs to be associated with. Access Electronic File Management and select the Profile Docs tab. Select the needed form and select the Change File icon at the top left of the screen.
Select Web Client > Charts > Select Patient > Scanned Images > Profile Docs
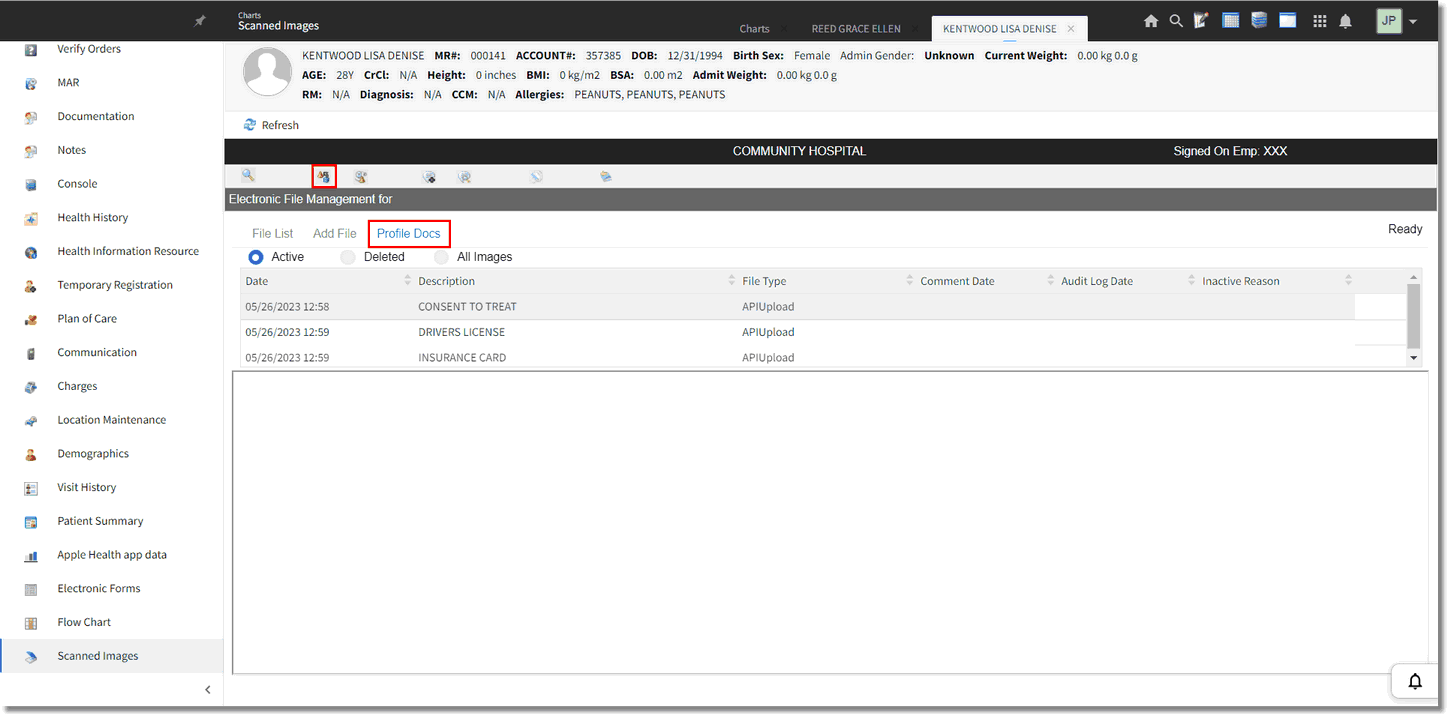
Electronic File Management - Profile Docs Tab
The Move File tab will display first. The current account number (from which Electronic File Management was accessed from) will auto-populate in the list below. Select the appropriate Reason to Move and then select the Save icon.
NOTE: If the Profile Form needs to be moved to a different account number, overkey the account number in the search field.
Select Web Client > Charts > Select Patient > Scanned Images > Profile Docs > Change File
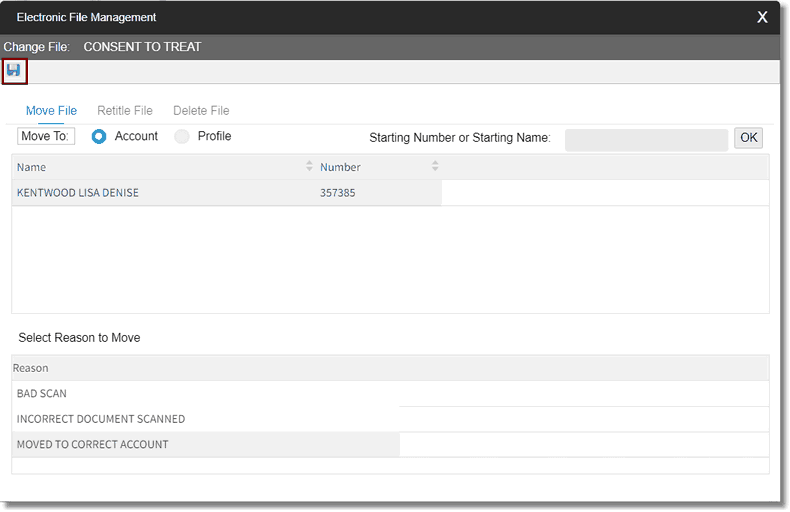
Electronic File Management - Change File
The Profile Form will now be associated to the current Electronic File Management account number and will display on the File List tab.
NOTE: Once forms have been moved from the Profile Doc tab to the File List tab, those forms will display within Reports and Attachments in the patient's Chart.