|
<< Click to Display Table of Contents >> Accessing the Clinical Information Reconciliation Application |
  
|
|
<< Click to Display Table of Contents >> Accessing the Clinical Information Reconciliation Application |
|
Clinical Information Reconciliation can be accessed from the following locations:
•The Health Information Resource main screen, using the Clinical Reconcile button.
•From the Import from Inbox page by selecting Clinical Reconcile in the Action Bar. For more information regarding the Scanned Images screen and Import from Inbox, please see the Electronic File Management User Guide.
•By selecting the Import option on the Action Bar in Medication History from either the Medication Reconciliation or Prescription Entry applications.
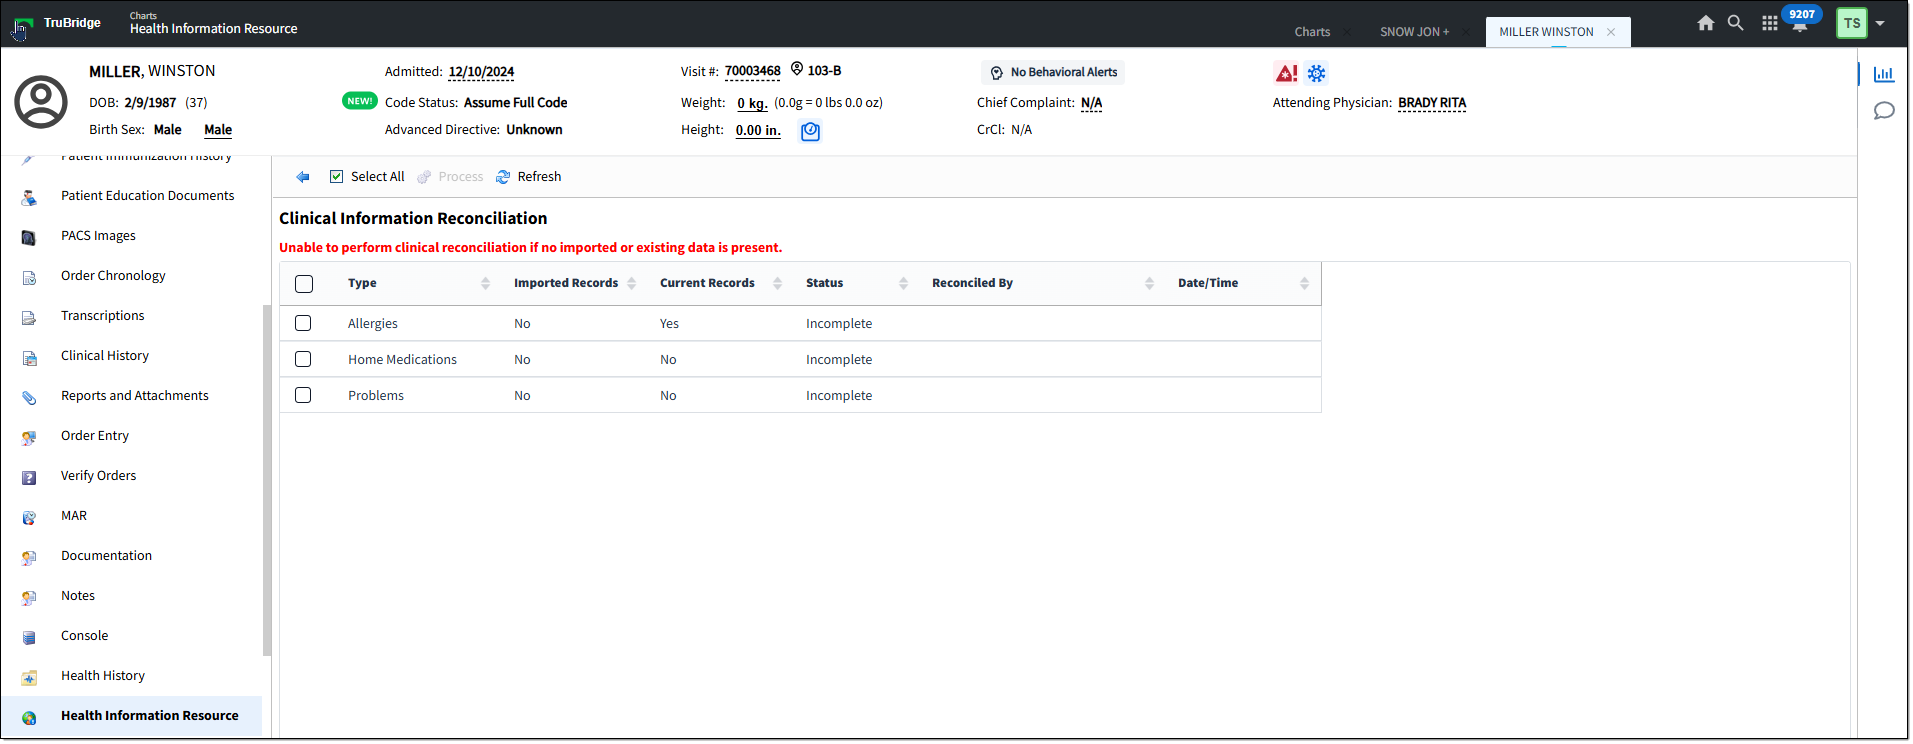
Clinical Information Reconciliation
In the following scenarios, users may be automatically prompted for Clinical Information Reconciliation:
•For hospitals, if Clinical Information Reconciliation is active and there is pending imported data for a patient, users will be taken automatically into Clinical Information Reconciliation when accessing the Allergies, Medication Reconciliation and/or Problem List applications.
•For clinics, if Clinical Information Reconciliation is active, pending imported data is present and the Provider Encounter switch is selected for the patient's visit, users will be taken automatically into Clinical Information Reconciliation when accessing the Allergies, Medication Reconciliation, Prescription Entry and/or Problem List applications.
NOTE: Any application that does not have records to reconcile will not link users to Clinical Information Reconciliation for that application.
Once you've accessed the Clinical Information Reconciliation application, there are several steps to complete the reconciliation:
1. Selecting an Application/Type of data for Clinical Information Reconciliation
2. Processing a Clinical Information Reconciliation
3. Selecting Imported or Current Problems/Allergies/Medications
6. Finalizing the Clinical Information Reconciliation